How to add Anycubic 3D printers profiles to Cura software
Here is an example of how to add Anycubic 3D printer profiles to Cura software. Follow the below procedure to add the settings.
- 1- Open Cura software
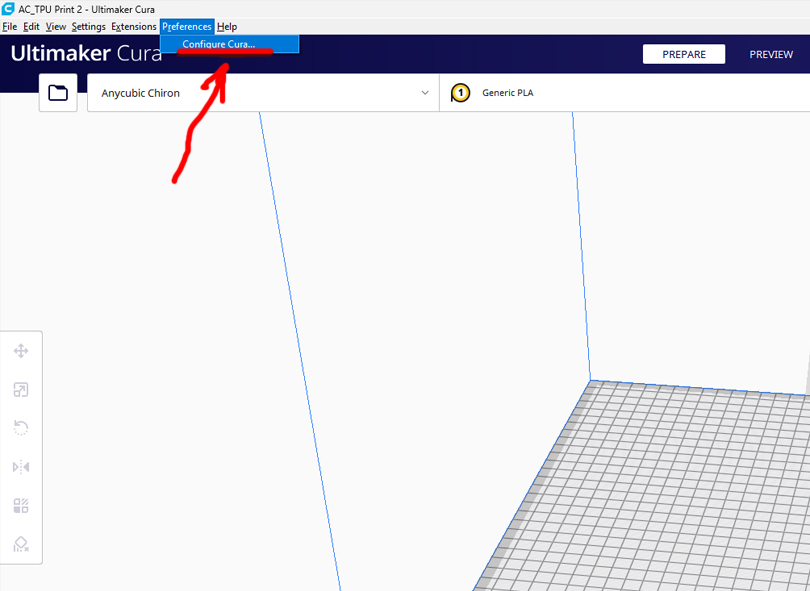
- 2- Go to Menu > Preferences > Configure Cura
-
- 3- Add your printer from printers tab, find anycubic and add your Anycubic printer.

4. Then go to “Profiles” section as shown on the below photo, > import profiles:
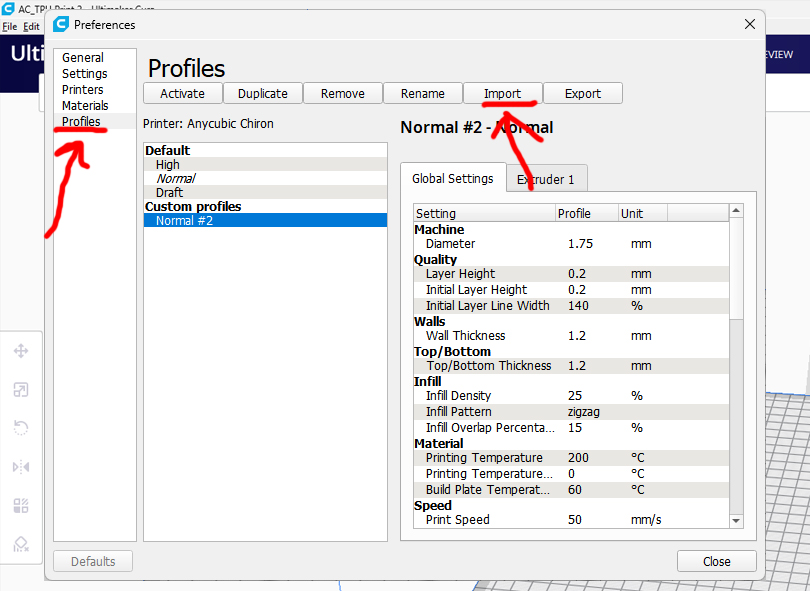
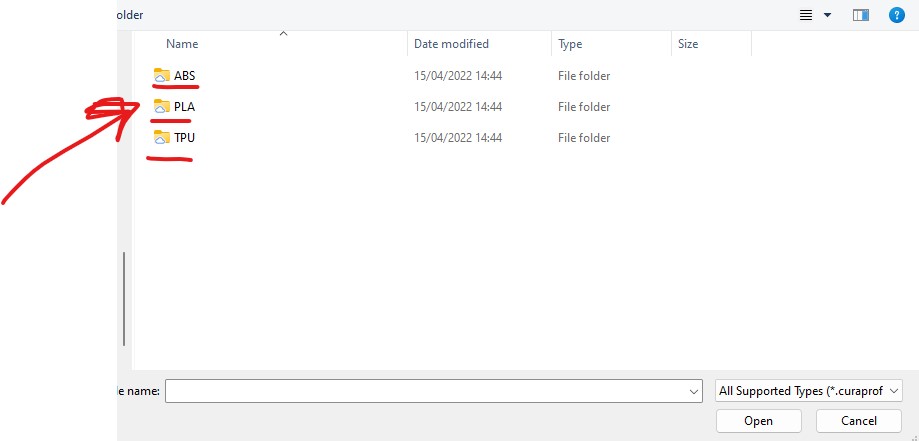
5. Select profiles and add them

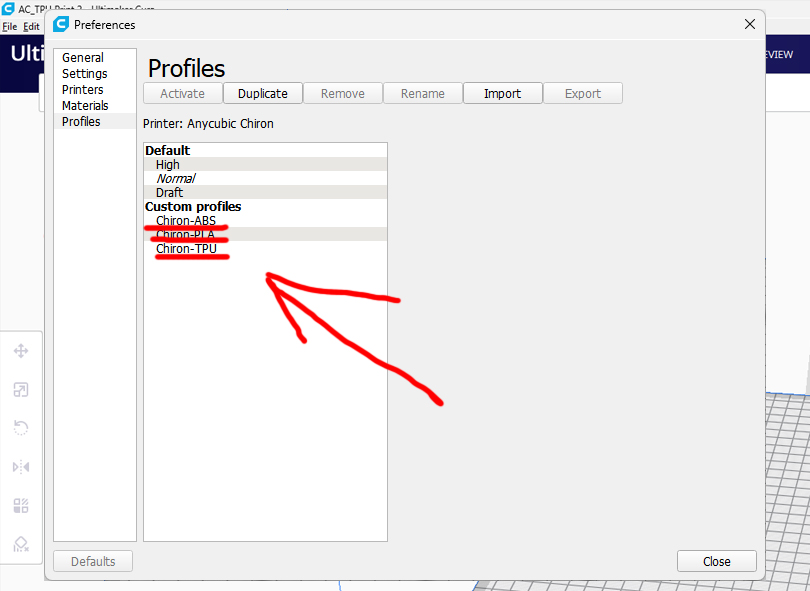
6- After all profiles added, click on the clos button.
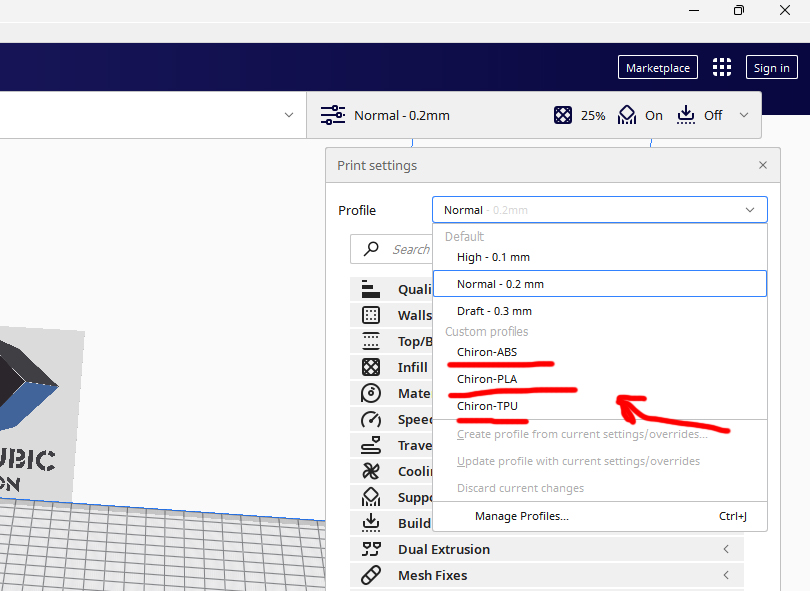
7- From the right section, use custom settings and select the right profiles from Print settings and profiles section
8- Add your 3D file and click on slice, save it to SD card for printing.
Download link: